
When to Plant Garlic: How to Plant & Grow Garlic at Home
Wondering when to plant garlic? For most home gardeners, fall is the best time. Planting garlic in fall gives cloves time to establish roots before winter and helps set the stage for larger bulbs the following spring and summer.
Unlike tomatoes, peppers, and many of our favorite summer vegetables, garlic gets its start months before harvest. Plant it in the fall, let it establish roots through the cooler months, and it will be ready to take off once spring arrives.
Garlic Planting at a Glance
| Garlic Growing Question | Quick Answer |
|---|---|
| Best time to plant | Fall |
| Typical planting window | September through December, depending on climate |
| Sun | Full sun |
| Planting garlic depth | About 2 to 3 inches |
| Garlic spacing | About 4 to 6 inches between cloves |
| When to harvest garlic | Late spring through summer |
| Best soil | Loose, fertile, well-draining soil |
When to Plant Garlic: The Best Time by Climate
A good rule of thumb is to plant garlic in the fall, after temperatures begin cooling but before the ground freezes. Fall planting gives garlic time to begin developing roots before winter and provides a head start when growth resumes in spring.
In colder climates, garlic is commonly planted in the fall so cloves have time to establish roots before winter. The University of Minnesota Extension recommends fall planting for garlic in cold climates, giving plants a head start before spring growth begins.
In areas with milder winters, including much of California and the West Coast, garlic can generally be planted later in the season. UC Agriculture and Natural Resources recommends fall planting for garlic and notes that planting windows in many parts of California extend from October through December.
The answer to when to plant garlic depends largely on your local climate and how cold your winters get.
A simple regional guide:
- Cold-winter regions: September through October
- Moderate climates: October through November
- Mild-winter regions: October through December
- Very warm or desert climates: September through November, depending on local conditions
Because climates can vary considerably even within the same growing zone, your local extension office or garden center can help fine-tune the best timing for your area.
Why Should You Plant Garlic in the Fall?
Understanding when to plant garlic matters because garlic benefits from a long growing season.
After fall planting, the cloves begin establishing a root system underground. Growth slows during the coldest part of winter, then picks back up as temperatures warm and daylight increases in spring.
That head start is one reason fall-planted garlic often develops larger bulbs than garlic planted in spring.
Spring planting is possible, but your bulbs may not have as much time to size up before summer harvest.
If you’re getting the rest of your garden ready for cooler weather, check out our Cool Weather Gardening Checklist for more fall planting and seasonal garden-prep tips.
Hardneck vs. Softneck Garlic: Which Should You Grow?
Hardneck Garlic
Hardneck varieties produce a firm central stalk called a scape. They tend to perform particularly well in areas with colder winters and often produce fewer but larger cloves.
Bonus: Garlic scapes are edible and can be harvested in late spring for pesto, sautés, stir-fries, and more.
Garlic can also be a great addition to an edible landscape, alongside other useful crops and herbs. For more inspiration, see our Creating Your Edible Landscape guide.
Softneck Garlic
Softneck varieties generally perform well in milder climates and tend to store longer after harvest.
They're also the type commonly used for braided bundles of garlic you may see at farmers markets.
If you're gardening in a warm region, varieties adapted to your local climate are often your best bet.
How to Plant Garlic Step by Step
1. Choose Healthy Garlic Cloves
Start with healthy bulbs intended for planting whenever possible.
Separate the bulb into individual cloves shortly before planting, keeping the papery covering intact.
Choose the largest, healthiest cloves for your garden. Larger cloves generally have more stored energy to support early growth and can contribute to larger bulbs at harvest.
2. Choose a Sunny Location
Garlic grows best in full sun, ideally receiving six or more hours of direct sunlight each day.
It also needs well-draining soil. Garlic does not like sitting in soggy soil, which can encourage rot and poor bulb development.
3. Prepare the Soil
Loose, fertile soil gives garlic bulbs room to expand.
Before planting:
- Remove weeds and old plant material.
- Loosen compacted soil.
- Incorporate finished compost or other organic matter if needed.
- Make sure the bed drains well.
Healthy garlic starts with healthy soil. If you want to better understand what your garden may need before planting, see our Soil Testing to Prepare Your Spring Garden guide.
If your soil could use more organic matter, True Organic All Purpose Compost can be mixed into existing garden soil to help improve soil structure and support long-term soil health.
What Fertilizer Should You Use for Garlic?
Garlic is a long-season crop, so good nutrition matters from planting through spring growth.
Before planting, work organic matter into the soil and make sure the bed is loose and well-draining. If your soil needs additional fertility, True Organic All Purpose Plant Food can help support healthy root development and steady growth throughout the season.
Apply according to label directions and avoid over-fertilizing. If you’re unsure what your soil needs, a soil test can help guide your application.
4. How Deep Should You Plant Garlic?
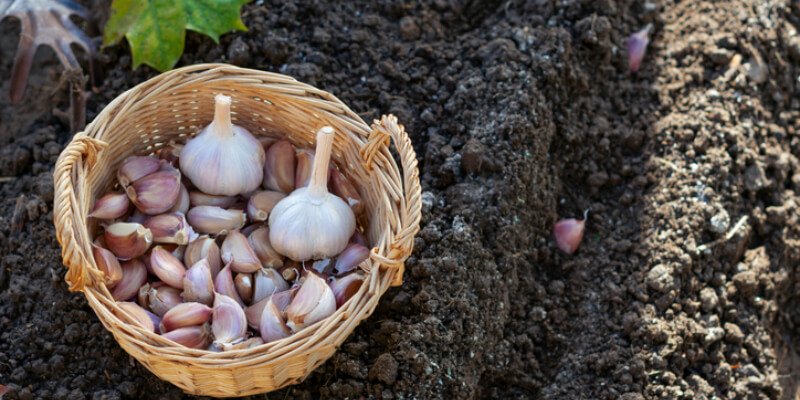
Look at an individual garlic clove. You'll see a flat base, where the roots develop, and a pointed tip, where the shoot emerges.
Plant each clove with the flat end down and pointed end up.
A common planting depth is approximately 2 to 3 inches, although recommendations can vary somewhat with climate, soil, and variety.
For additional planting guidance, see Oregon State University Extension's garlic-growing tips.
5. How Far Apart Should You Plant Garlic?
Give each clove enough room to form a full-sized bulb.
- Cloves: About 4 to 6 inches apart
- Rows: Roughly 6 to 12 inches apart
You do not need acres of garden space, either. Garlic fits nicely into raised beds, smaller vegetable gardens, and containers.
Can You Grow Garlic in Containers?
Yes. Garlic can grow well in containers as long as the container is deep enough and provides excellent drainage.
Use a loose, well-draining potting mix and make sure the container has drainage holes. Give each clove enough room to develop and place the container where it will receive plenty of sun.
Should You Mulch Garlic?
In regions with cold winters, adding a layer of mulch after planting can help protect your garlic bed.
Straw, shredded leaves, or similar organic mulch can help:
- Moderate soil temperatures
- Reduce frost heaving
- Hold soil moisture
- Suppress weeds
In warmer climates, a lighter layer may be sufficient.
Whatever your climate, avoid letting the bed stay waterlogged.
What Happens to Garlic During Winter?
Not much may appear to be happening above ground, and that's completely normal.
Your garlic is busy establishing roots underground.
You may see shoots emerge during a period of warmer fall or winter weather. Garlic is cold tolerant, and limited top growth before winter generally is not a problem.
Once spring temperatures arrive, growth accelerates quickly.
Should You Fertilize Garlic in Spring?
Yes, depending on your soil fertility. Spring is when garlic begins putting on significant leafy growth, and healthy leaves help support bulb development underground.
A spring feeding with True Organic All Purpose Plant Food can help provide nutrients as garlic resumes active growth. Follow the product label for application rates and timing.
How Often Should You Water Garlic?
Garlic likes consistent moisture while actively growing, but the soil should never stay saturated.
Your goal is evenly moist, well-drained soil.
As the bulbs approach maturity and the foliage begins yellowing in late spring or early summer, gradually reduce watering.
Too much water close to harvest can contribute to bulb and storage problems.
When Is Garlic Ready to Harvest?
Fall-planted garlic is typically ready in late spring through summer, depending on your region and variety.
Watch the leaves rather than the calendar.
When several of the lower leaves begin turning brown or yellow while some upper leaves remain green, it is time to start checking the bulbs.
Gently dig up one bulb rather than pulling it directly from the soil.
You're looking for a well-developed bulb with distinct cloves beneath the outer wrapper.
If the bulb still seems small, give the rest of the crop a little more time.
How Do You Cure and Store Garlic?
Freshly harvested garlic is not quite ready for long-term storage.
After harvesting, place the plants in a dry, shaded location with good airflow and allow them to cure.
Once the outer wrappers and stems have dried, trim the roots and tops as appropriate for the variety and store your garlic in a cool, dry, well-ventilated location.
And don't forget to save a few of your best bulbs. Those large, healthy cloves can become the start of next year's garlic crop.
Frequently Asked Questions About Planting Garlic
When to Plant Garlic for the Best Results?
For many gardeners, October is an ideal month to plant garlic, but the best timing depends on climate. Colder areas may plant in September or October, while milder regions may plant into November or December.
Can you plant garlic in spring?
Yes, garlic can be planted in spring. However, fall planting usually gives the cloves more time to develop roots and can lead to larger bulbs at harvest.
Is November too late to plant garlic?
Not necessarily. In many moderate and mild climates, November is still an excellent time to plant garlic. The key is to plant before the ground freezes and while cloves still have time to establish roots.
How deep should garlic be planted?
A common recommendation is to plant garlic cloves about 2 to 3 inches deep, with the pointed end facing upward.
How far apart should garlic cloves be planted?
Space garlic cloves about 4 to 6 inches apart, with roughly 6 to 12 inches between rows.
Does garlic need full sun?
Yes. Garlic performs best in full sun, ideally with at least six hours of direct sunlight each day.
How long does garlic take to grow?
Fall-planted garlic typically grows over several months, beginning in fall and reaching harvest in late spring or summer, depending on climate and variety.
When should garlic be harvested?
Garlic is generally ready when several of the lower leaves have turned brown or yellow while some of the upper leaves are still green.
Fall Planting, Summer Reward
Once you know when to plant garlic in your region, success comes down to good soil, proper spacing, consistent moisture, and a little patience.
A few cloves tucked into the soil this fall can quietly establish themselves through winter before bursting into growth in spring and producing fresh garlic for your kitchen next summer.
Prepare your soil, choose healthy cloves, give them plenty of sun, and let nature do the rest.
Trusted by farms. Loved at home. Grow With Us.

A Garden-Fresh Thanksgiving: “Grow What You Eat” Holiday Recipes
April 20, 2025
Jeff Bordes
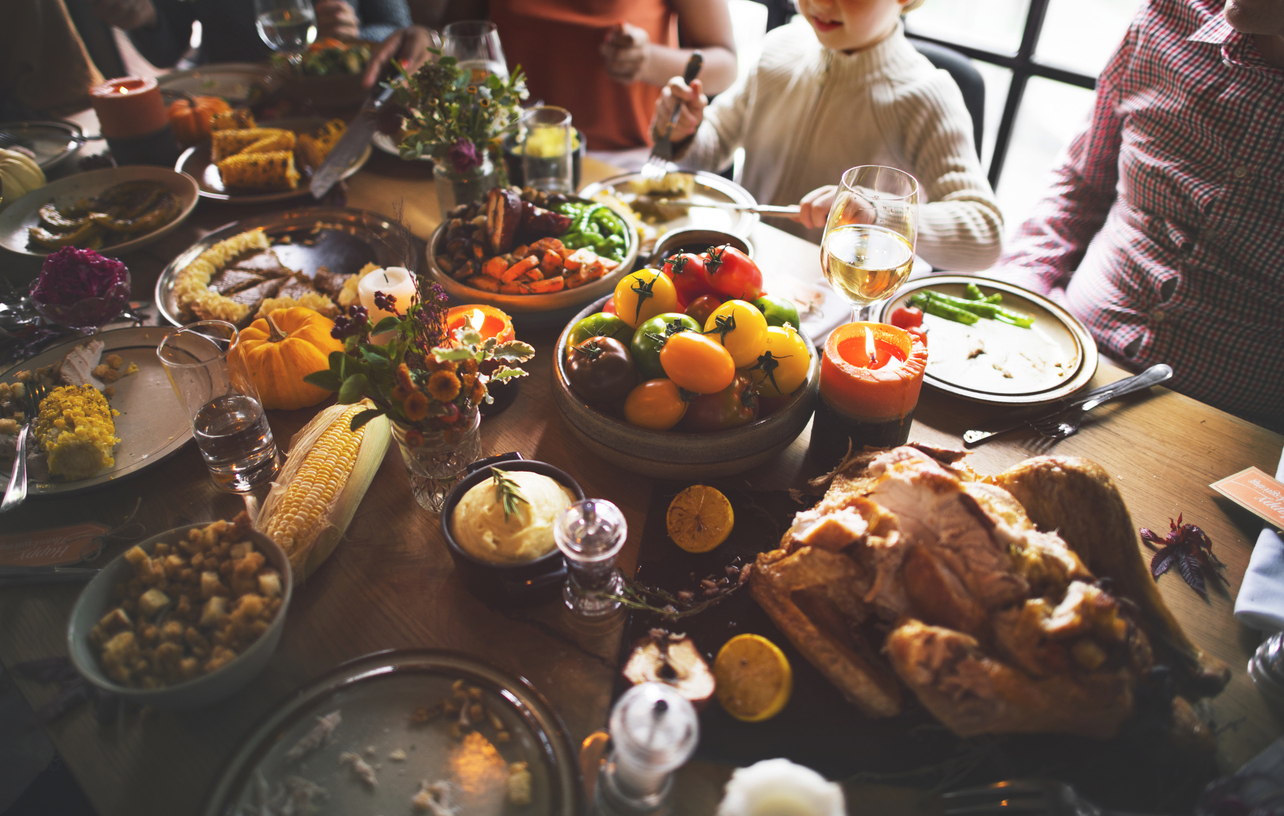
Thanksgiving is the perfect moment to celebrate the beauty of fresh, home-grown food. When you grow what you eat, every dish on the table tells a story—one of soil, sunshine, and the care you put into your fall garden. This season, bring that harvest to the heart of your holiday with four simple, delicious Thanksgiving recipes featuring ingredients commonly grown in autumn: potatoes, green beans, leafy greens, persimmons, sweet potatoes, herbs, and more.
These dishes prove that the best flavors come straight from the garden bed to your dinner table.
Garden-Fresh Classic Mashed Potatoes
A Thanksgiving essential, mashed potatoes are even better when they come from your own soil. Fall gardens often yield hearty varieties like Yukon Gold, Russet, or Red potatoes—perfect for a creamy mash.
Key Garden Ingredients:
🥔 Potatoes
🌿 Chives or parsley (optional garnish)
🧄 Garlic (optional)
Green Bean Casserole (Garden-Inspired)
Green beans thrive in late summer and early fall, making them a great addition to your Thanksgiving table. Using your own green beans, plus garden-grown garlic or mushrooms (for those who cultivate them), brings extra texture and freshness to this iconic dish.
Key Garden Ingredients:
🫛 Green beans
🧄 Garlic
🧅 Onions (for topping if making from scratch)
🍄 Mushrooms (if home-grown)
Fall Harvest Garden Salad with Persimmons
Autumn gardens shine with hearty greens and late-season fruits. Fuyu persimmons—a garden favorite in many regions—pair beautifully with freshly picked greens.
Key Garden Ingredients:
🍃 Lettuce or mixed greens
🧡 Fuyu persimmons
🥗 Herbs like mint or parsley
🌰 Walnuts (if you grow or source locally)
Home-Grown Sweet Potato & Marshmallow Bake
Sweet potatoes are a classic cool-season crop, making them a natural star on your Thanksgiving menu. Their earthy sweetness shines in this traditional bake.
Key Garden Ingredients:
🍠 Sweet potatoes
🌿 Rosemary or thyme (optional for fragrance)
Garden-Fresh Classic Mashed Potatoes
Ingredients
- 3 lbs potatoes home-grown, yukon gold for creamy; russet for fluffy
- 2-3 cloves garlic optional
- 2 tbsp fresh herbs chives, parsley, thyme, or rosemary (optional)
- 1/2-3/4 cup whole milk warm
- 4-6 tbsp butter
- Salt & Pepper to taste
- 1/4 cup sour cream or cream cheese for extra richness optional
Procedure
- Prepare the PotatoesPeel if desired (leave some skin on for texture).Cut into even chunks for quick, uniform cooking.
- Boil Until TenderAdd potatoes to a pot of cold, salted water.Bring to a boil and cook 12–15 minutes, until a fork slides in easily.If using garlic, add whole cloves to the water for mellow, roasted-like flavor.
- Drain & Steam-DryDrain well and return potatoes to the hot pot.Let them sit 1–2 minutes to evaporate excess moisture.This is the secret to fluffy mashed potatoes.
- Mash & MixAdd butter first and mash until smooth.Gradually mix in warm milk until you reach your preferred consistency.Season with salt and pepper.Stir in fresh herbs if using.
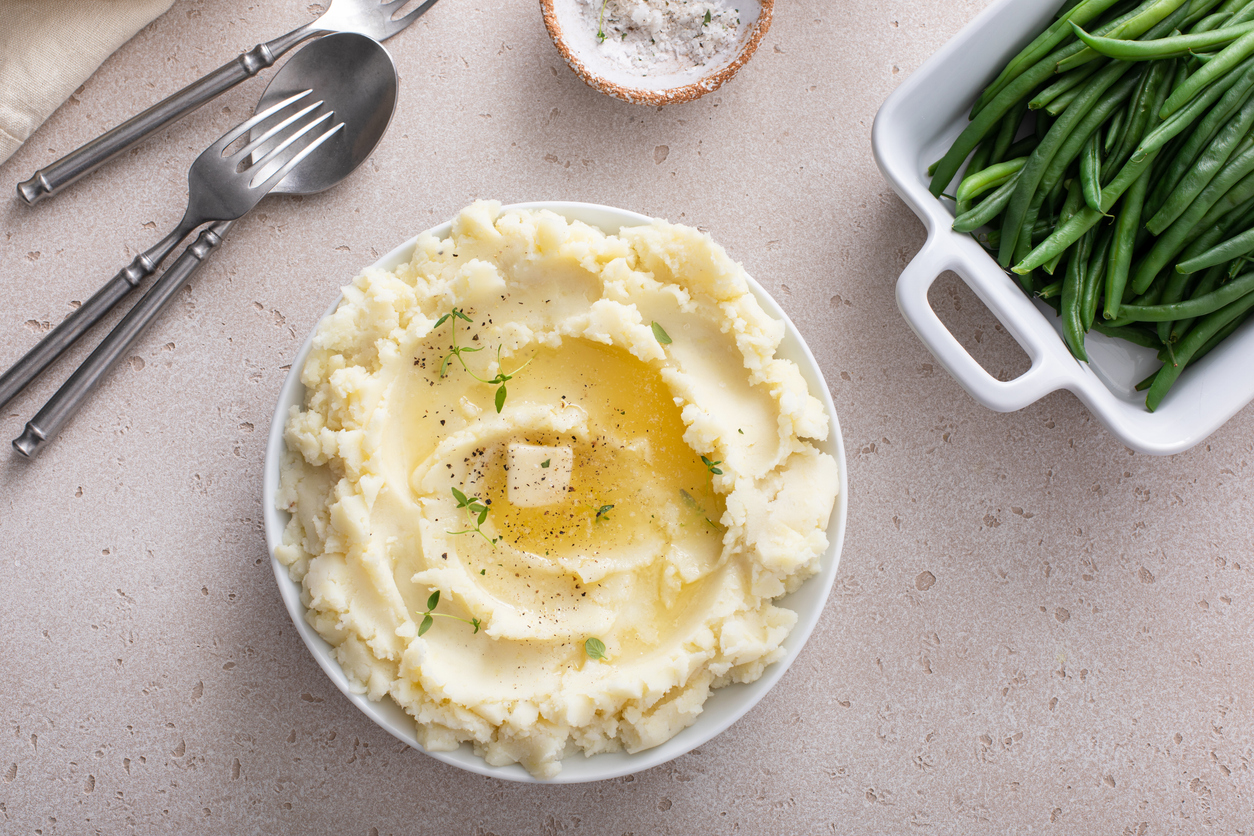
- Finish with Garden FlairA sprinkle of chopped chives or parsley on topA swirl of melted butterFresh-cracked pepper
Notes
Garden-Grown Variations
- Garlic Herb Mash: sauté garden garlic + thyme in butter before adding.
- Roasted Potato Mash: roast potatoes instead of boiling for deeper flavor.
- Carrot or Parsnip Mash: mix in roasted home-grown roots for color & sweetness.
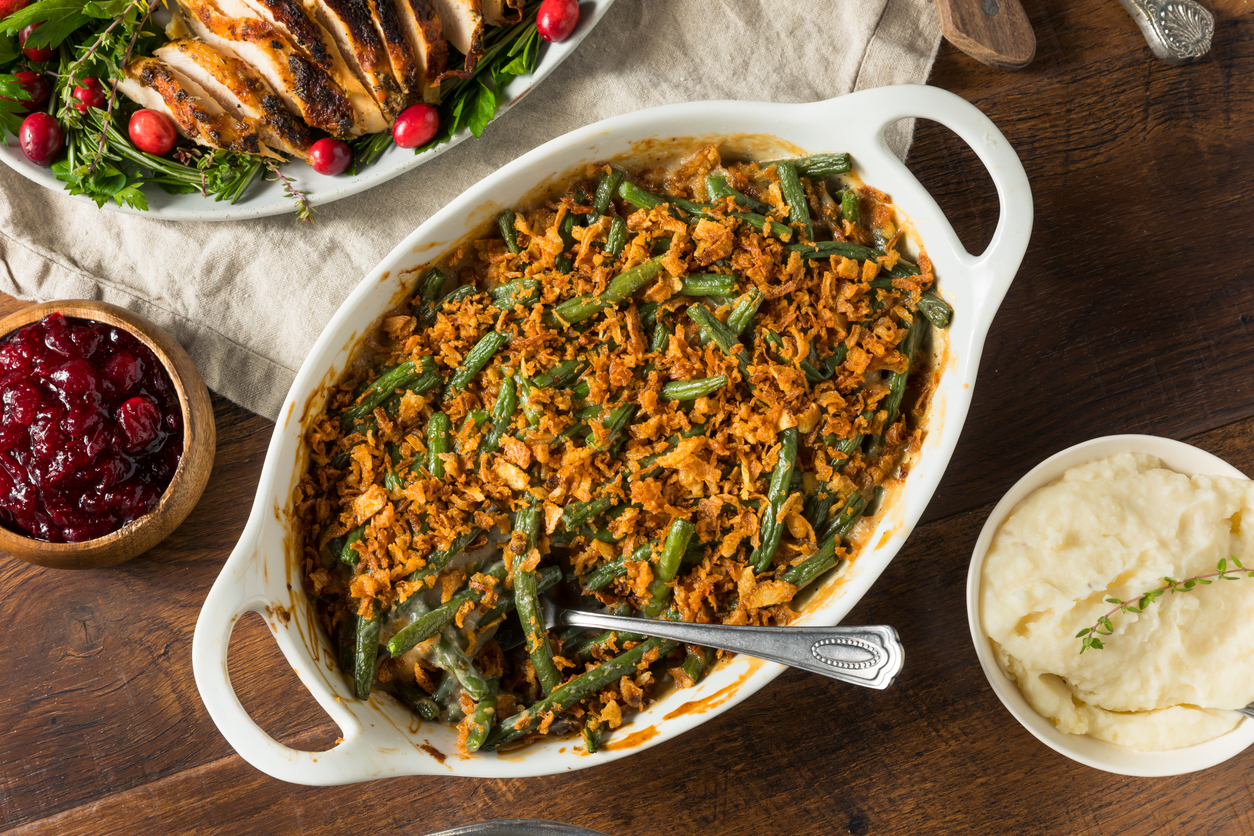
Green Bean Casserole
Ingredients
- 1.5 lbs fresh green beans trimmed & cut in half
- 1 cup mushrooms sliced
- 1 small onion or shallot thinly sliced
- 2-3 cloves garlic minced
- 1-2 tbsp fresh herbs (thyme, parsley, sage)
- 2 tbsp butter
- 2 tbsp flour
- 1 cup vegetable or chicken broth
- 1 cup whole milk or half-and-half
- Salt & Pepper
- 1 splash soy sauce or Worcestershire for depth
- 1.5 cups store-bought crispy onions
Procedure
- Blanch the Green BeansBring a pot of salted water to a boil.Add green beans and cook 4–5 minutes until bright green.Transfer to an ice bath to stop cooking.Drain and set aside.
- Make the Mushroom Herb SauceIn a large skillet:Melt butter over medium heat.Sauté onions/shallots for 3–4 minutes until soft.Add mushrooms and cook until golden.Add garlic and herbs; cook 1 minute.Sprinkle flour over the veggies and stir to coat.Slowly pour in broth, stirring constantly, then add milk.Cook 3–5 minutes until thickened.Season generously with salt, pepper, and optional soy sauce.
- Assemble the CasserolePreheat oven to 375°F.In a baking dish, combine green beans with the sauce.Mix thoroughly.
- Add the Topping & BakeTop with crispy onions (or your homemade crispy topping).Bake 20–25 minutes, until bubbling and golden brown.
Notes
- Add roasted home-grown mushrooms Boosts umami and texture. • Stir in chopped kale or chard Adds color and nutrition. • Use home-grown shallots Their sweetness is perfect for frying into crispy bits. • Add a pinch of garden-dried chile flakes For a subtle warmth.
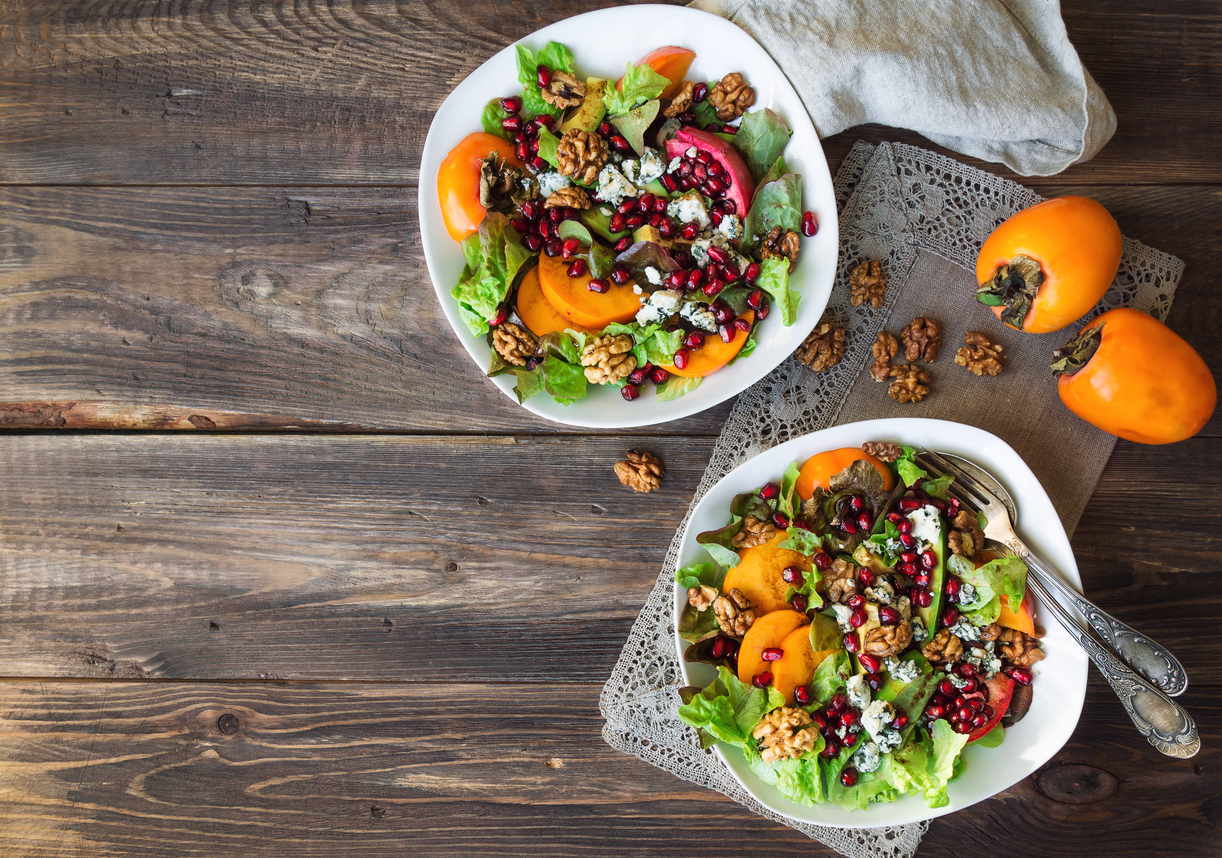
Fall Harvest Garden Salad with Persimmons
Ingredients
- 2 ripe persimmons (fuyu works best) sliced
- 4 cups mixed fall greens (kale, arugula, spinach, or lettuce)
- 1 cup roasted beets, or carrots diced
- 1/2 cup pomegranate seeds or diced apples
- 1/2 cup toasted nuts (walnuts, pecans, or pumpkin seeds)
- 1/4 cup fresh herbs (mint, parsley, thyme or basil)
- crumbled goat cheese or feta
- thinly sliced red onion
- Roasted sweet potato cubes
- A handful of cooked quinoa for protein
- 1/4 cup olive oil
- 2 tbsp apple cider vinegar or lemon juice
- 1 tbsp honey or maple syrup
- 1 tsp Dijon mustard
- pinch salt & pepper
- finely chopped thyme or rosemary
Procedure
- Prepare Your Fall ProduceWash and dry your greens.Slice persimmons into thin rounds or wedges.If using root veggies, roast them at 400°F with olive oil, salt, and pepper for ~20–25 minutes.
- Build the SaladIn a large bowl:Layer greens.Add persimmons, roasted veggies, pomegranate seeds/apples, nuts, and herbs.If adding cheese or quinoa, sprinkle over the top.
- Dress & TossDrizzle with the citrus-honey dressing.Toss gently so the persimmons stay intact.
- FinishTop with a little extra mint, nuts, or pomegranate seeds for color and crunch.
Notes
Garden-Grown Variations
- Add kale for a nutrient-dense version—massage it first with a little olive oil.
- Swap persimmons for pears if your garden neighbors grow them.
- Use roasted pumpkin instead of beets for a richer fall flavor.
- Add freshly harvested radishes for peppery snap.
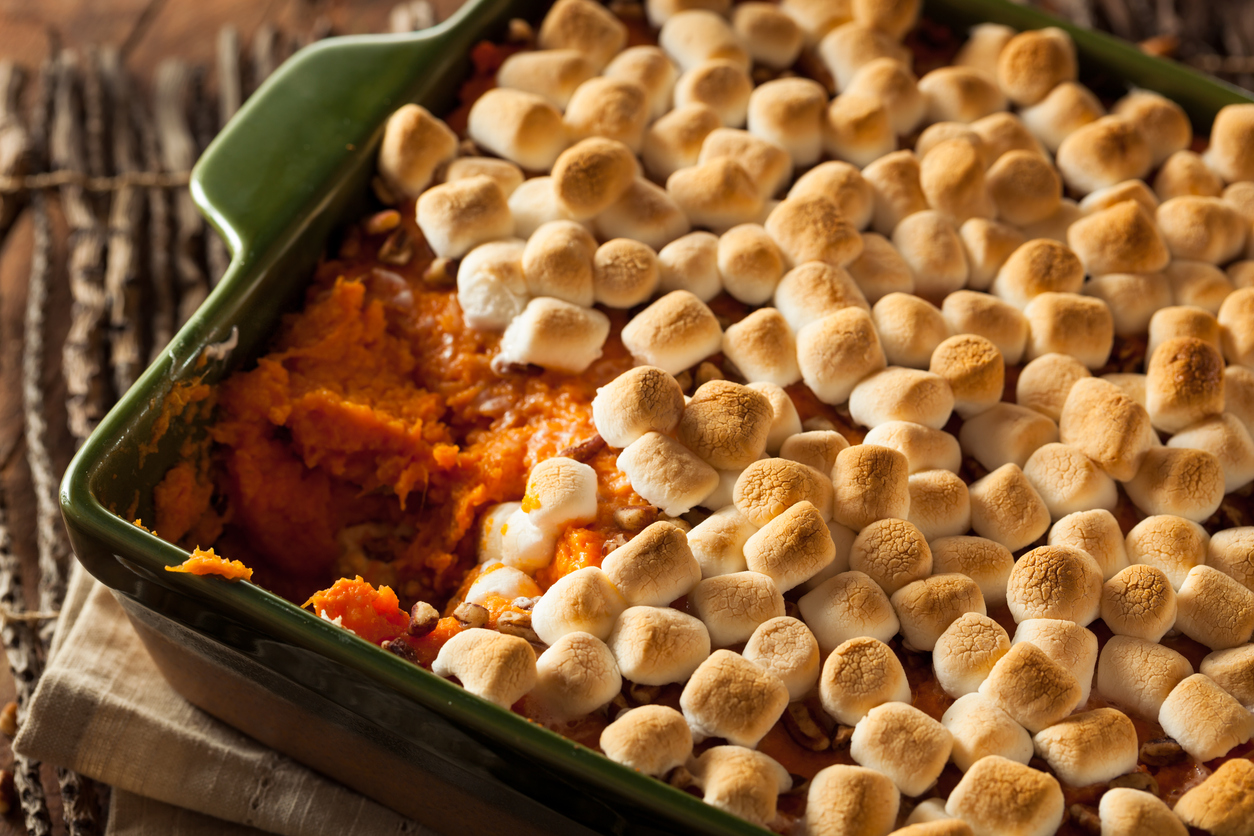
Home-Grown Sweet Potato & Marshmallow Bake
Ingredients
- 4-5 sweet potatoes peeled & cubed
- 4 tbsp butter (or browned butter for extra depth)
- 1/3 cup maple syrup (or brown sugar)
- 1 tsp vanilla extract
- 1/2 tsp ground cinnamon
- 1/4 tsp nutmeg
- salt to taste
- 2-3 tbsp (optional) home-grown herbs (rosemary or thyme), finely chopped
- 3-4 cups mini marshmallows
Procedure
- Cook the Sweet Potatoes- Preheat oven to 375°F (190°C).- Boil or steam sweet potatoes until very tender (about 15–20 minutes).- Drain well.
- Mash & FlavorIn a large bowl:- Mash the sweet potatoes until smooth.- Add butter, maple syrup/brown sugar, vanilla, cinnamon, nutmeg, and salt.- Fold in chopped herbs or nuts if using.Taste → adjust sweetness or spices as you like.
- Bake the Base- Spread the sweet potato mixture into a buttered baking dish.- Bake uncovered for 20 minutes.
- Add Marshmallows & Finish- Remove from oven and top generously with mini marshmallows.- Return to oven for 8–10 minutes, or until marshmallows are golden and melty.- For a toasted campfire look: switch to broil for 1 minute — watch closely!
Notes
Tips to Highlight Your Home-Grown Ingredients
- If you grow sweet potatoes, choose the smaller, sweeter ones for best flavor.
- Add fresh herbs (rosemary, thyme, or even a tiny bit of sage).
- Top with home-grown roasted pumpkin seeds instead of nuts.
- Drizzle with herb-infused honey for a gourmet twist.
Bring Your Fall Garden to the Feast
Growing your own food isn’t just rewarding—it’s delicious. By planting fall crops like potatoes, sweet potatoes, green beans, greens, herbs, and persimmons, you can build an entire Thanksgiving menu rooted in what you’ve harvested.
This year, celebrate a holiday table that’s home-grown, flavorful, and truly connected to the soil.
Happy Thanksgiving—and happy growing!
Show us your True Organic Plants
#GrowWithTrue

www.trueorganic.earth