10 Unique Seed Varieties We Can’t Wait To Grow in 2024
November 22, 2023 Gardening Tips & Tricks 10 Unique Seed Varieties We Can’t Wait To Grow in 2024 Thinking about 2024 garden planting? So are we! Now is the time to sit down with your garden…
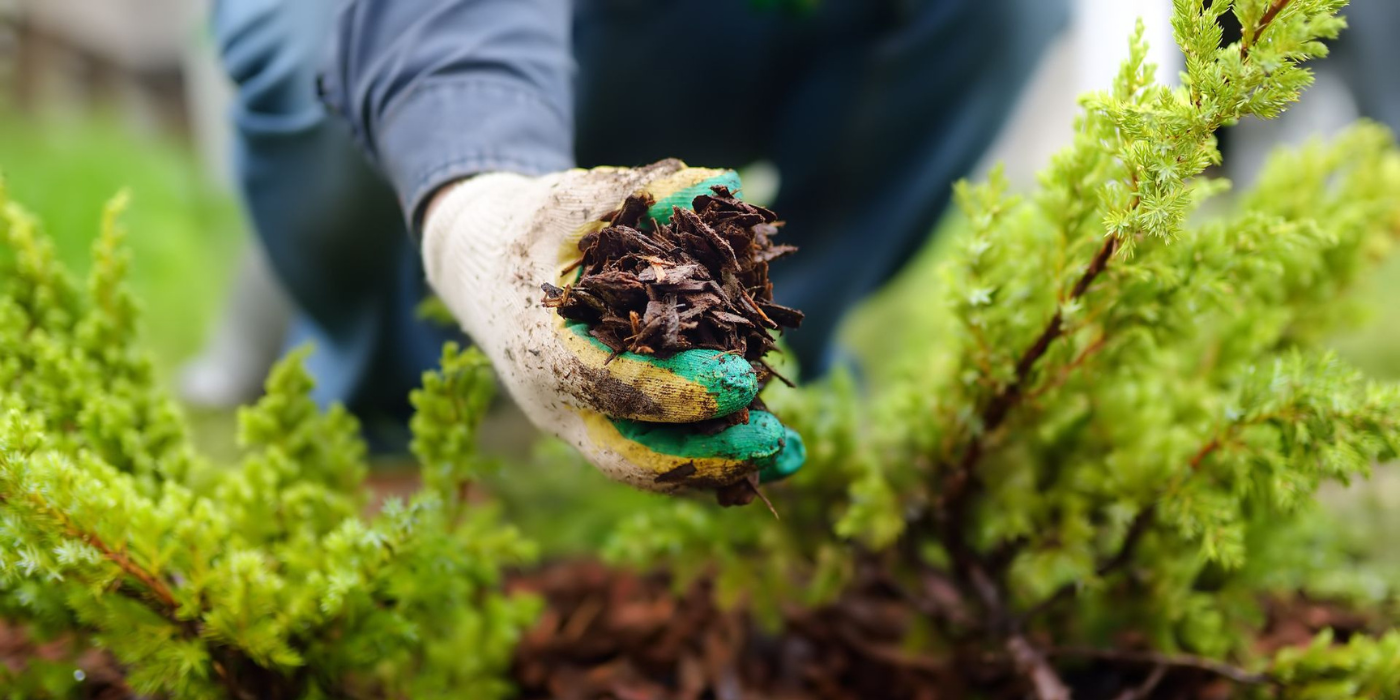
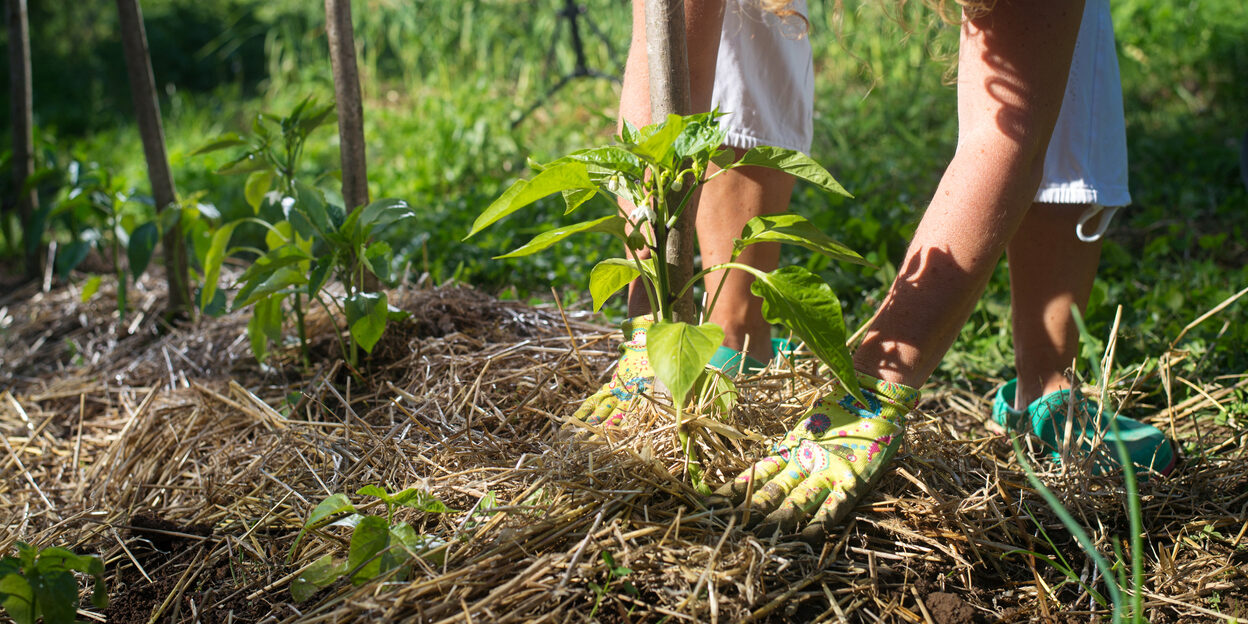
5 Gardening Tasks That Build Healthier Soil
September 8, 2023 Gardening Tips & Tricks 5 Gardening Tasks That Build Healthier Soil Can you feel fall in the air? As sunsets get earlier and cool weather approaches, it can sometimes feel like…
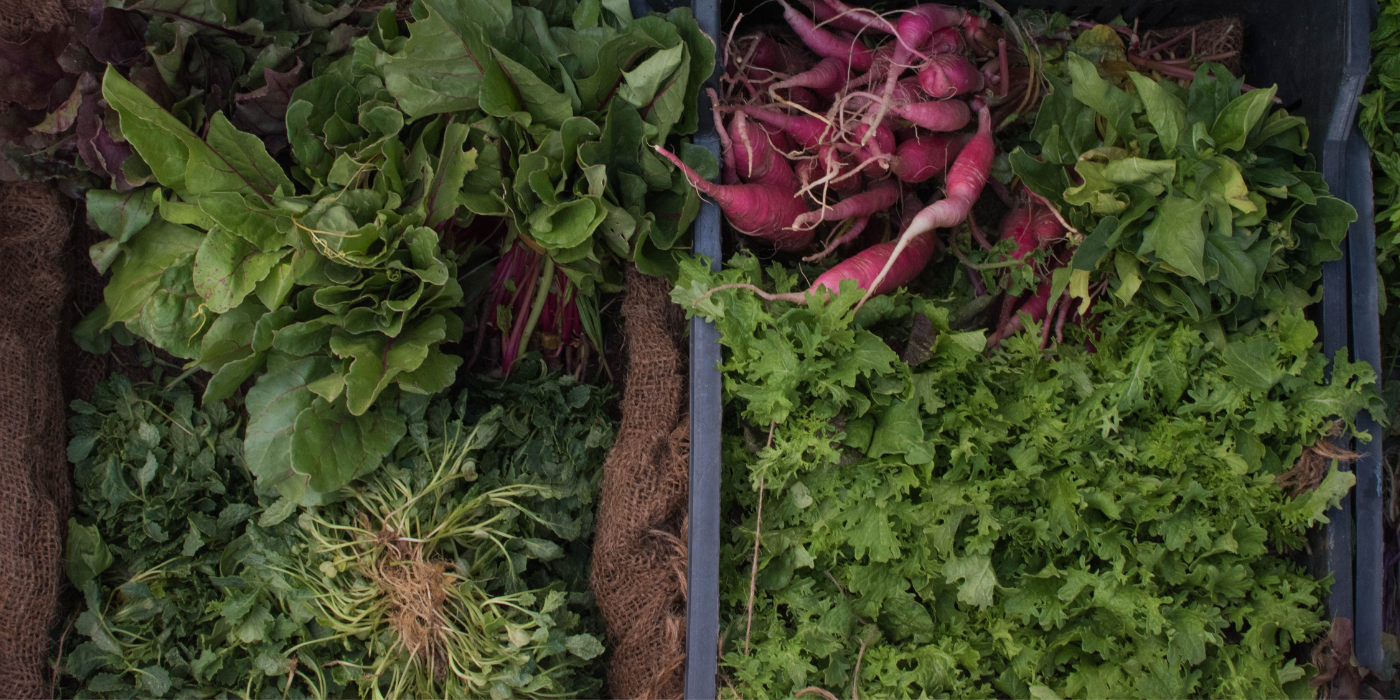
Succession Planting: Maximize Your Garden's Potential with Continuous Harvest
August 4, 2023 Gardening Tips & Tricks Succession Planting: Maximize Your Garden’s Potential with Continuous Harvest Do you want to maximize your garden’s yield, grow a wider variety…
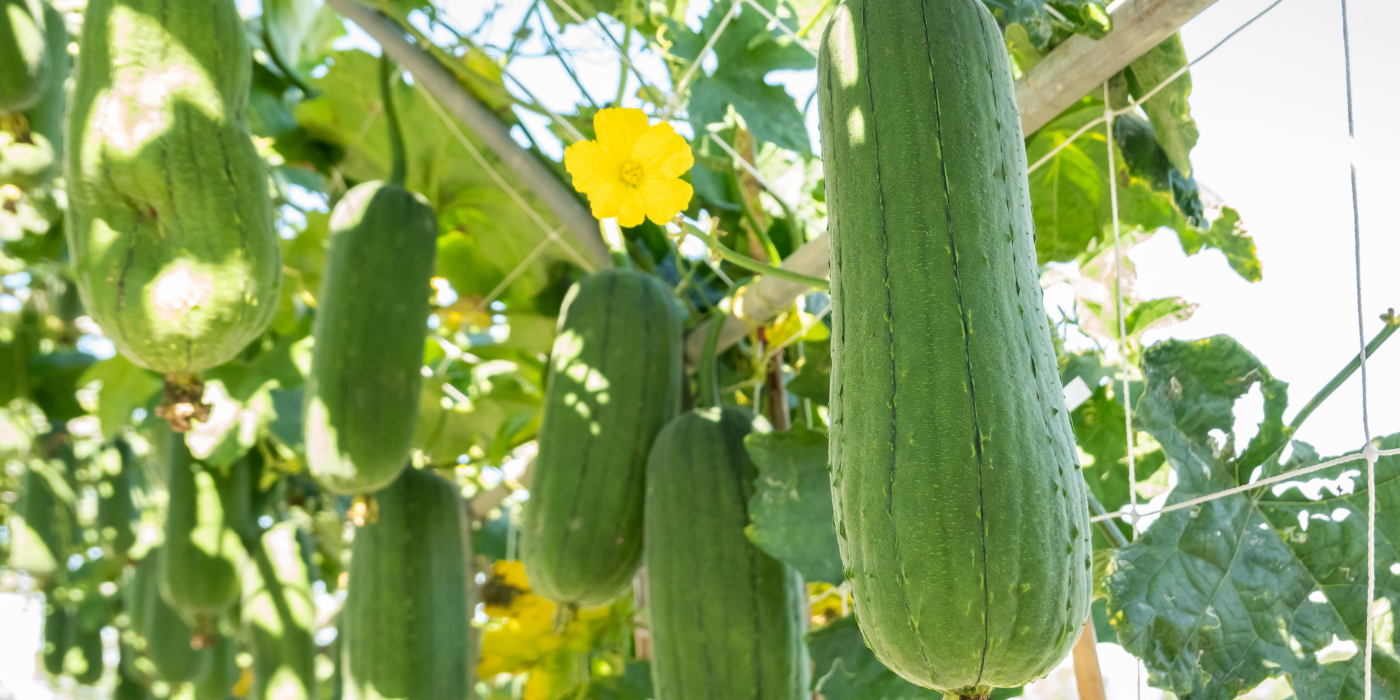
Homegrown Sponges: Growing Loofah in Your Garden
July 25, 2023 Gardening Tips & Tricks Homegrown Sponges: Growing Loofah in Your Garden Forget about neon-colored, plastic bath sponges that never biodegrade! Scrub yourself clean with an…

Stylish, Space-saving Vertical Gardening at Home
June 23, 2023 Gardening Tips & Tricks Stylish, Space-saving Vertical Gardening at Home The benefits of vertical gardening are plenty. Not only does growing vertically increase yields, many…
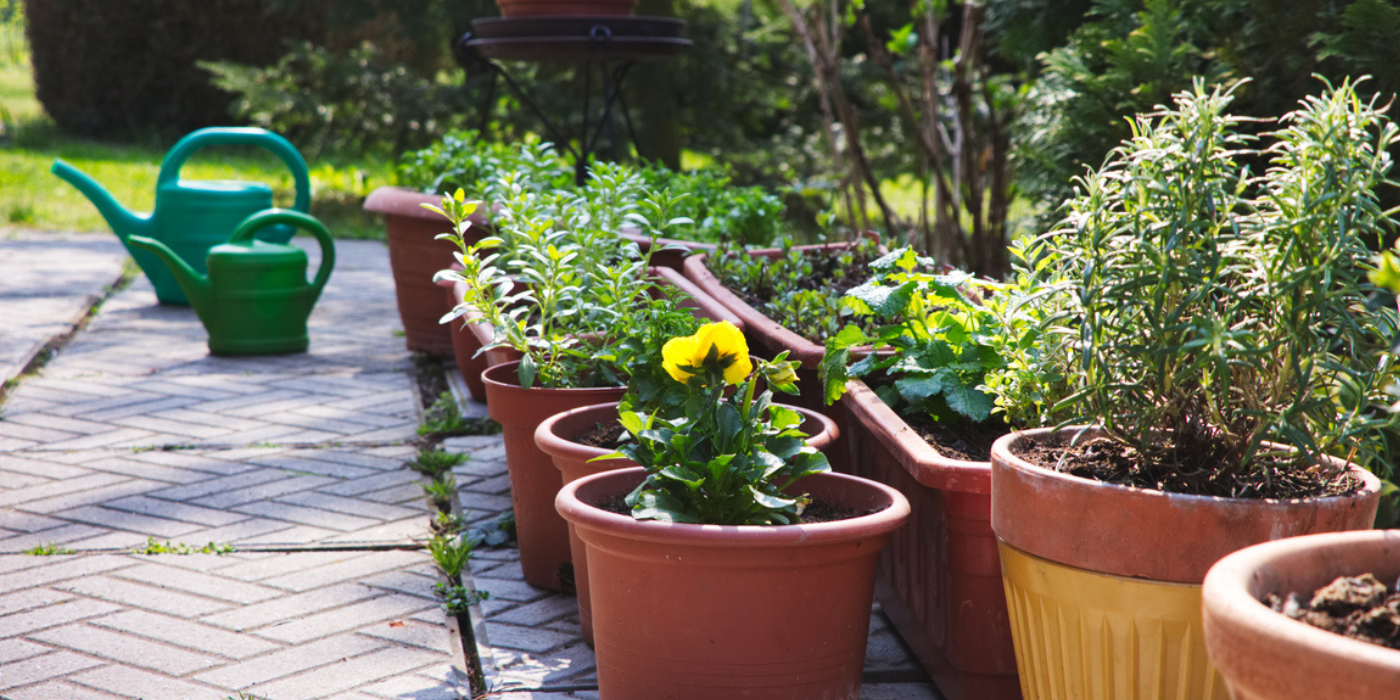
Container Gardening 101: Starting A Potted Garden in Any Space
March 30, 2023 Gardening Tips & Tricks Container Gardening 101: Starting A Potted Garden in Any Space So you want to grow a luscious garden but you don’t have quite enough outdoor space…or any…
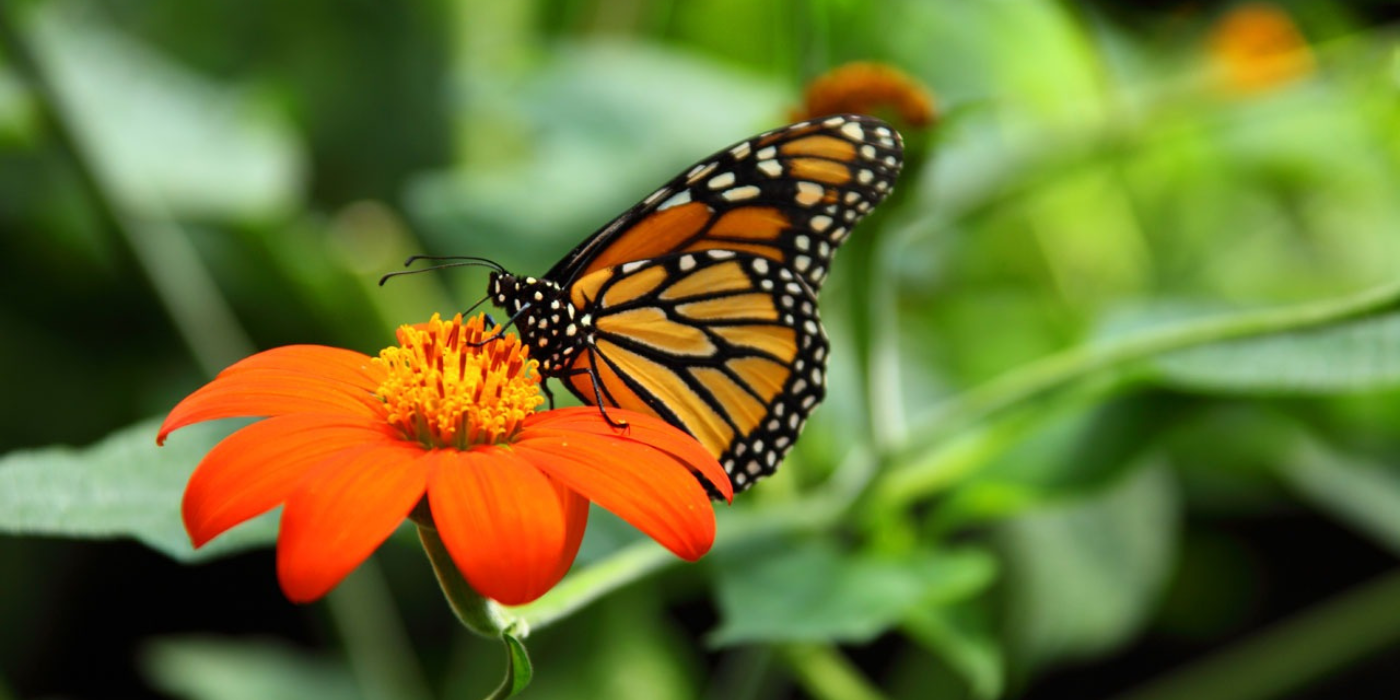
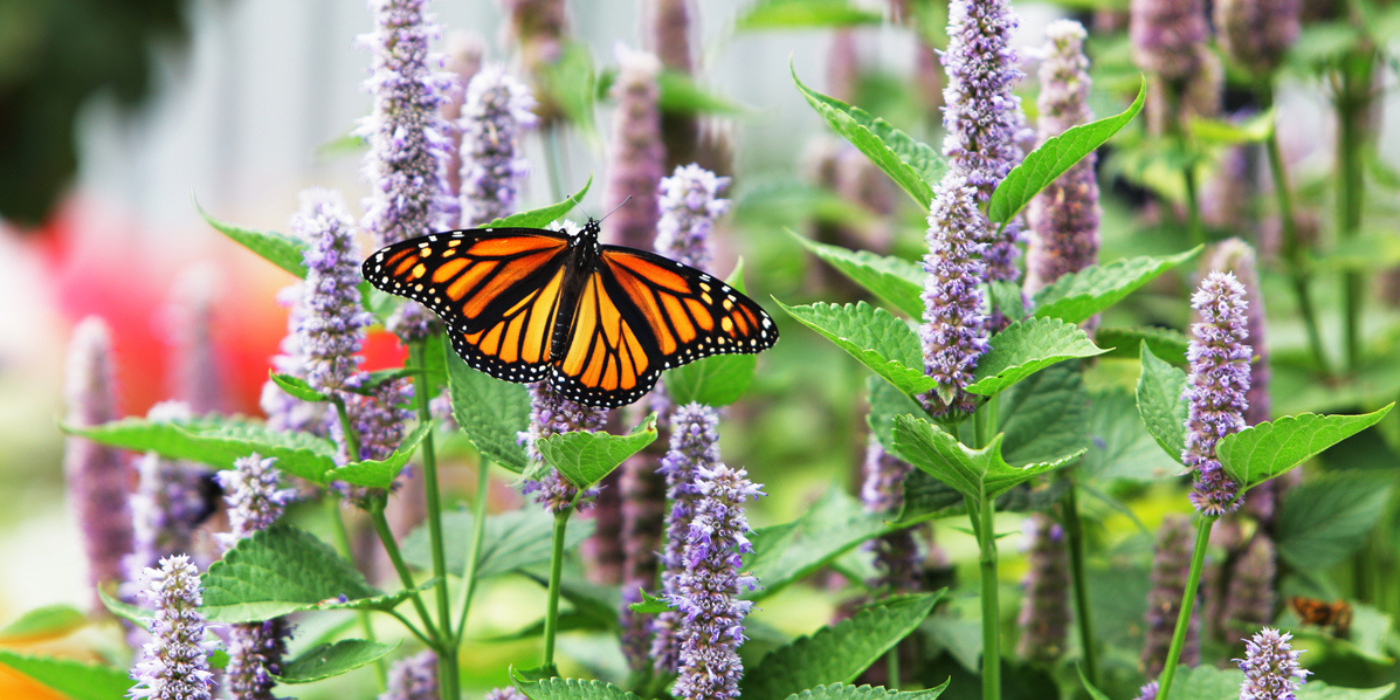
6 Tips for a Perfect Pollinator Garden
March 8, 2023 Gardening Tips & Tricks Pollinators are ecosystem heroes. 🦋 Bees, butterflies, moths, bats, birds, and even wasps have ensured that plants can reproduce long before humans started…
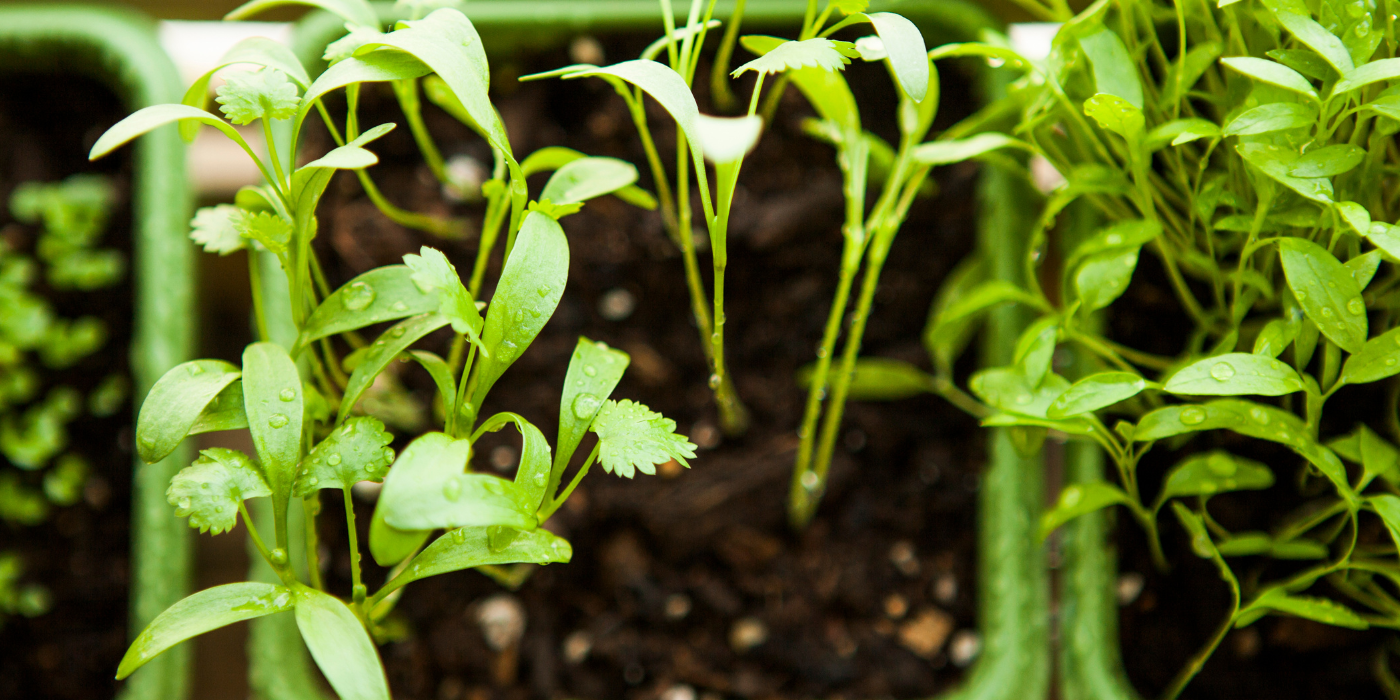
Winter Sowing: How to Start Seeds Outdoors
January 14, 2023
Gardening Tips & Tricks
Do you like to start your garden with seeds? It’s a super gratifying way to grow plants!

True Organic Cool Weather Gardening Checklist
October 25, 2022 Gardening Tips & Tricks Cool Weather Gardening Checklist It might feel like Summer is hardly over, but it’s time to get busy with Fall garden tasks! Tomatoes are waning,…
True Organic Hot Weather Gardening Tips
July 28, 2022 Gardening Tips & Tricks Hot Weather Gardening Tips Summer is blazing again, and heat waves are sweeping through every corner of the country. Is your garden ready to weather the…