
Easy Plant Propagation Tips for Beginners
June 3, 2022 Gardening Tips & Tricks Easy Plant Propagation Tips for Beginners Want some new plants without buying any? Propagation is a delightful part of being a plant parent and can…
Garden Journaling: Your Key Spring Planning Tool
March 31, 2022 Gardening Tips & Tricks Garden Journaling: Your Key Spring Planning Tool A garden journal is just what it sounds like: a record of information about your garden. These…
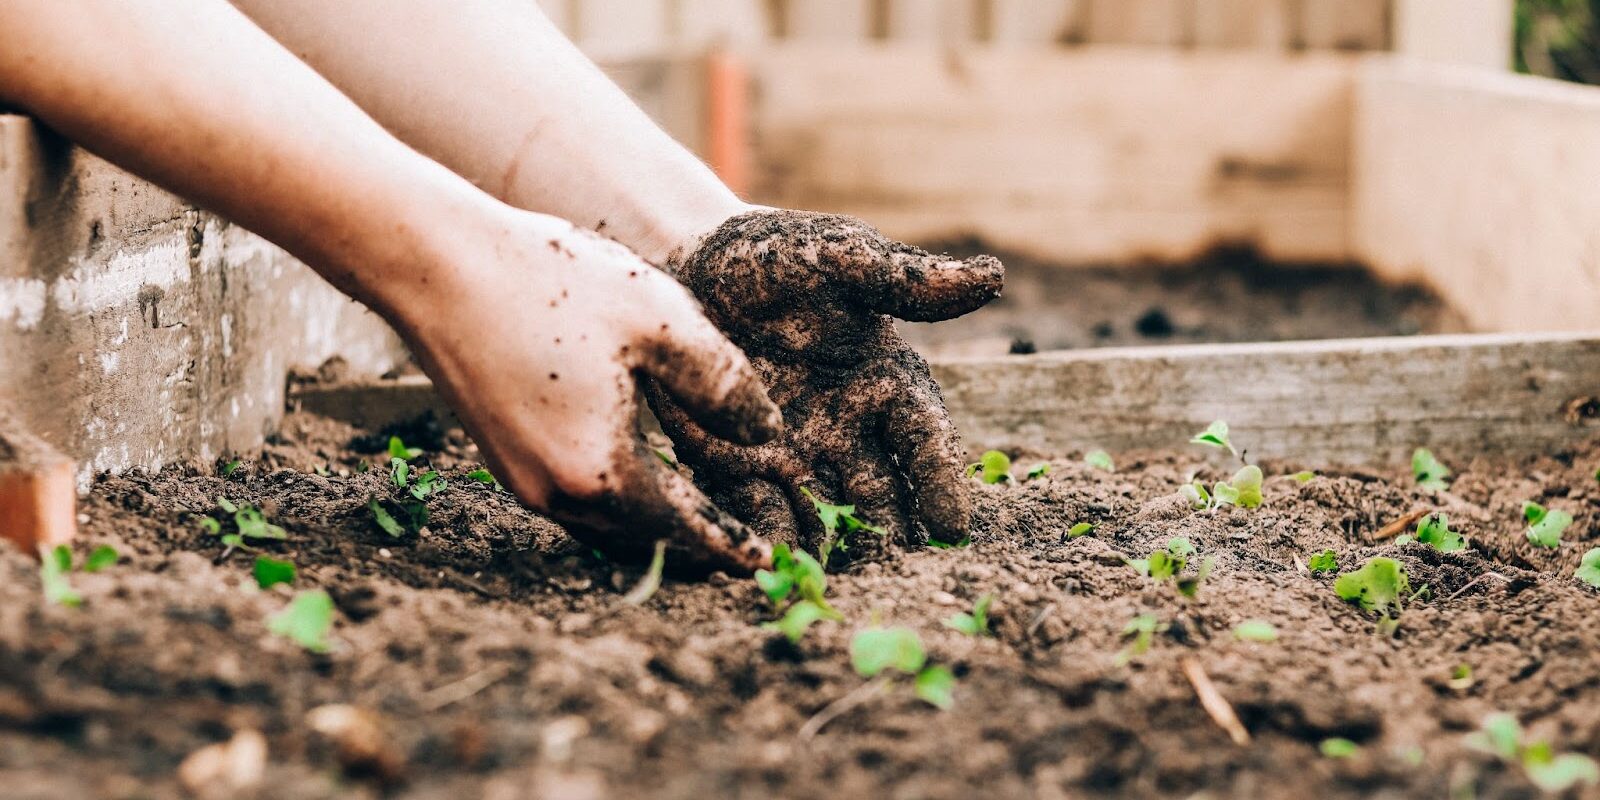
Soil Testing To Prepare Your Spring Garden
March 31, 2022 Gardening Tips & Tricks Soil Testing To Prepare Your Spring Garden Soil testing might sound intimidating, but the better you know your soil, the better you can grow your…
Winter To-Do List For Home Gardeners
December 12, 2021 Gardening Tips & Tricks Winter To-Do List For Home Gardeners As days go from crisp to downright chilly, the natural world shifts into a restorative phase, soil hardens under…